WalnutPi OS是一款基于Debian的免费操作系统,并针对核桃派硬件进行了优化,是在核桃派上推荐的正常使用操作系统。
核桃派的操作系统是安装到SD卡上的,目前提供2个镜像,分别是定制版Debian和无桌面版本。
· 桌面版(desketop版) 可体验更像Windows系统般的桌面环境,系统预装了丰富的应用软件,开机即用。其包含C、Python编程软件、谷歌浏览器、LibreOffice办公(兼容Office)、图片查看器、VLC媒体播放器、截图软件等,能极大地降低用户使用门槛。
· 无桌面版(server版)是使用终端方式进行交互,其好处在于能加快启动的速度,并以更少的内存占用及低功耗见长,特别适合熟悉Linux指令的用户。它甚至可以用来部署一个小型服务器。
操作系统的镜像下载地址为:
https://pan.baidu.com/s/1-ytTK-KI1RP2KsoZpjFSrA?pwd=WPKJ
提取码为:WPKJ
本人选择的是桌面版操作系统,需通过解压才成为可进行镜像的文件。


为进行镜像安装,还下载镜像工具软件Win32DiskImager_v1.0。

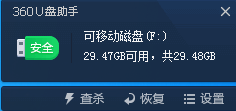
随后是将存储卡插入读卡器,然后再插入电脑的U盘接口,则在电脑上会呈现出U盘的提示。
此时,打开Win32磁盘映像工具,在指定存储设备及映像文件后,如图1所示。
在单击“写入”功能后,会出现图2所示的提示内容,此时单击“Yes”即可。
随后即展开写入过程,见图3所示。直至出现图4界面完成写入,单击“OK”来确认写入完成,再点击“退出”以结束写入。
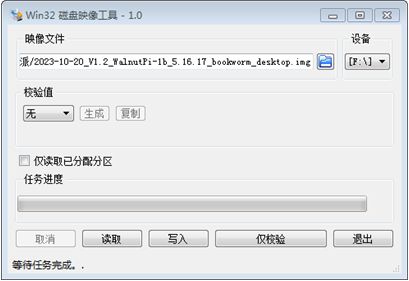
图1 选取映像文件及存储设备
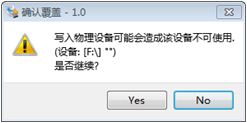
图2 确认覆盖

图3 写入过程中
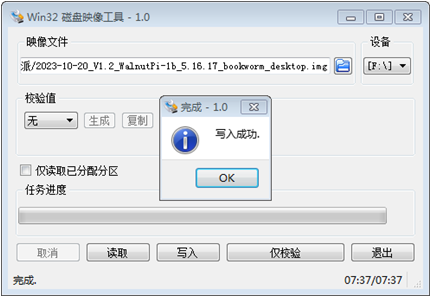
图4 写入过程中
为进行系统的测试,需将MicroSD卡按图5所示插入卡座。
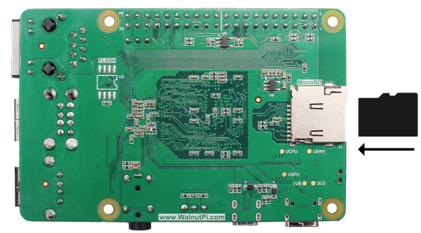
图5 插入存储卡
在供电方面,核桃派的电源要求是:采用5V工作电源,电路在 3A以上。为此相应用所配置的电源适配器来供电,并以厂家配备的USB线来连接适配器及开发板的Type-C接口。比较有意思的是,在这条电源线上还配有一个小型的电源开关,在电源操控时方便了许多。
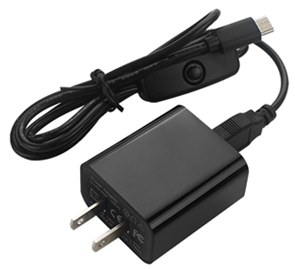
图5电源供电
核桃派所提供的视频接口为microHDMI,见图6所示。还提供了一条microHDMI转HDMI数据线,见图7所示。
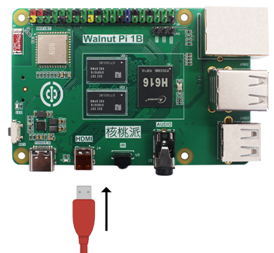
图6 HDMI转接线
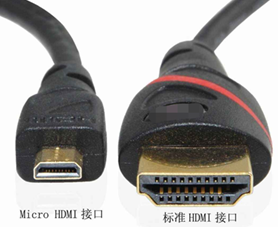
图7 HDMI转接线
遗憾的是,自己的电脑显示接口是VGA的,以前使用的视频线是HDMI转VGA,这样便无法直接连显示屏了。
为验证系统安装的正确性,只好以非桌面版系统的测试方式来进行。
在开发板上配有串行调试口,可通过USB转TTL模块与之相连,见图8和图9所示。
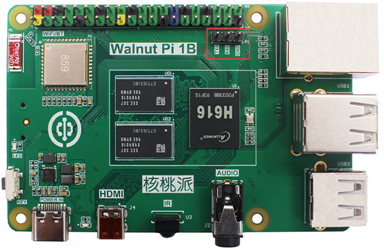
图8 串行调试口
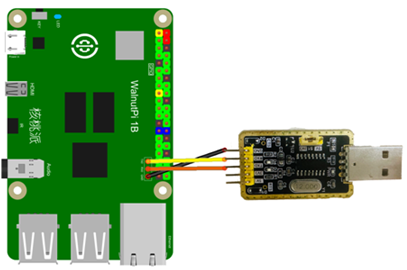
图9 连接方式
在完成连接的情况下,使用putty即可登录系统或查看调试信息,其串口的参数设置键图10所示。
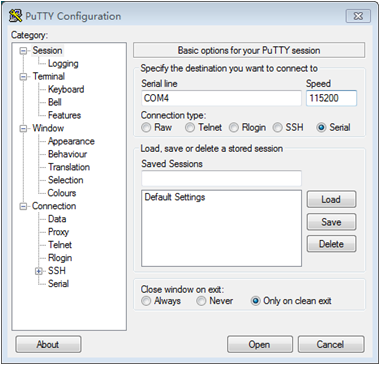
图10 参数设置
在开发板上电后,即可观察到图11所示的输出信息,说明系统已正常启动。
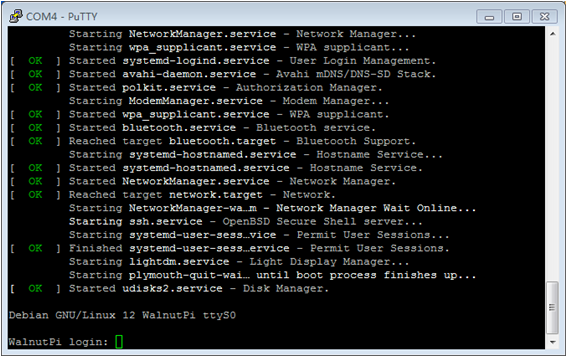
图11 输出信息
此时,可以Pi为用户名及密码来登录,在登录后其界面如图12所示。
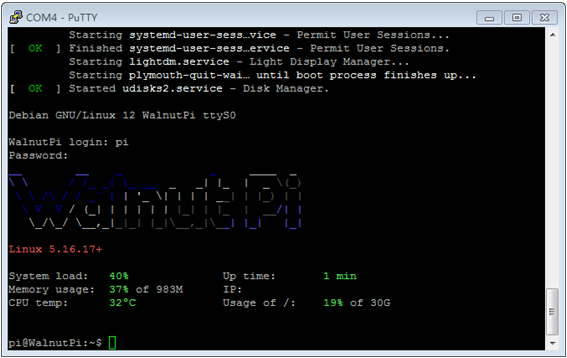
图12 完成登录
此外,还可以指令“cat /etc/WalnutPi-release”来查看系统的版本信息,见图13所示。
至此,可以说明系统的安装是成功的,后面就可以进行较全面的测试及应用。
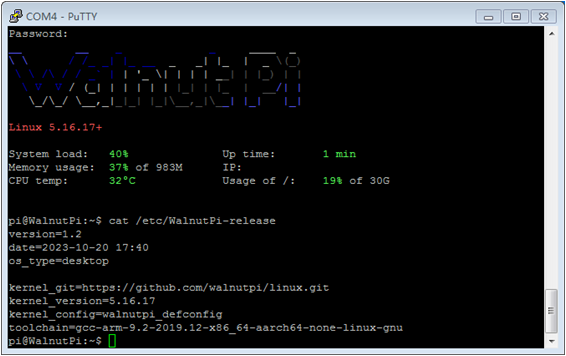
图13 查询系统版本

 /6
/6 


 工商网监
湘ICP备2023018690号
工商网监
湘ICP备2023018690号


 1221
1221


 淘帖
淘帖


