点灯是入门单片机的最基础功夫之一。今天收到开发板,进行LED灯的点亮:
1、下载开发环境并安装:
按照《RA2E1/RA2L1入门指南》一步一步的安装IDE、下载工具,这里不一一述说,有哪些小伙伴遇到问题,可以私信我。
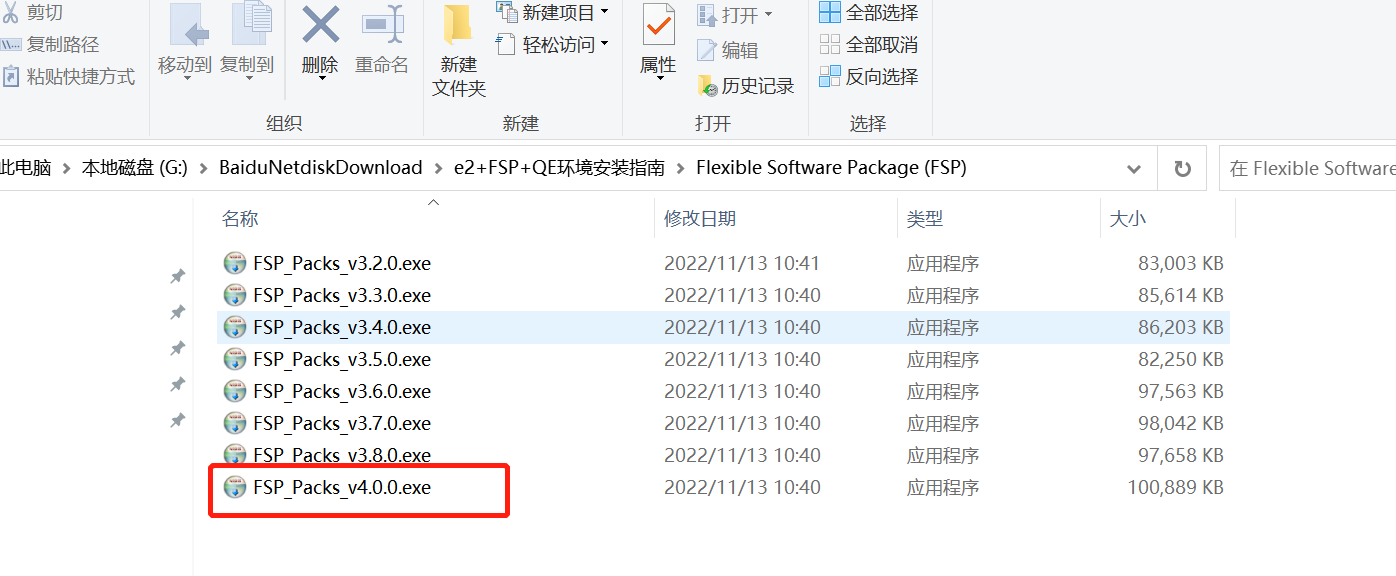
2、安装FSP_Packs,如果这一步不安装就在新建工程时不能选MCU的型号:
到这里基本上环境的安装就结束了。
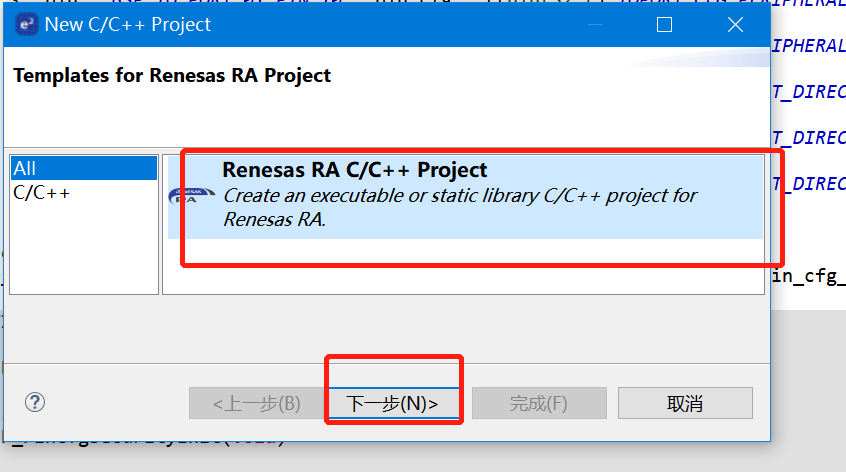
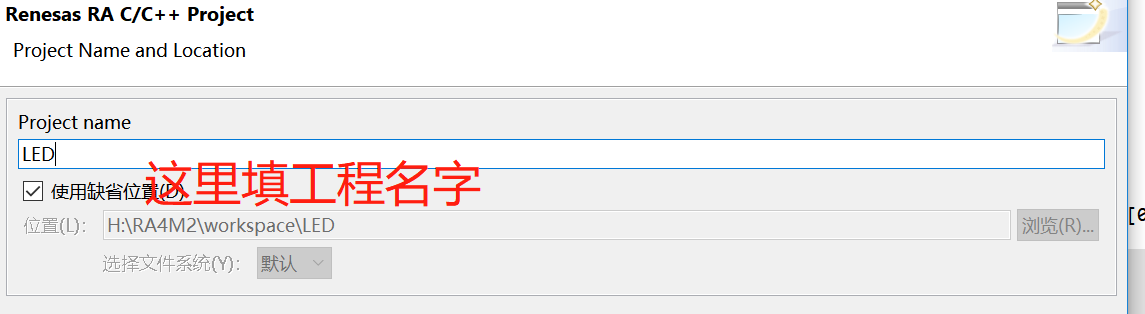
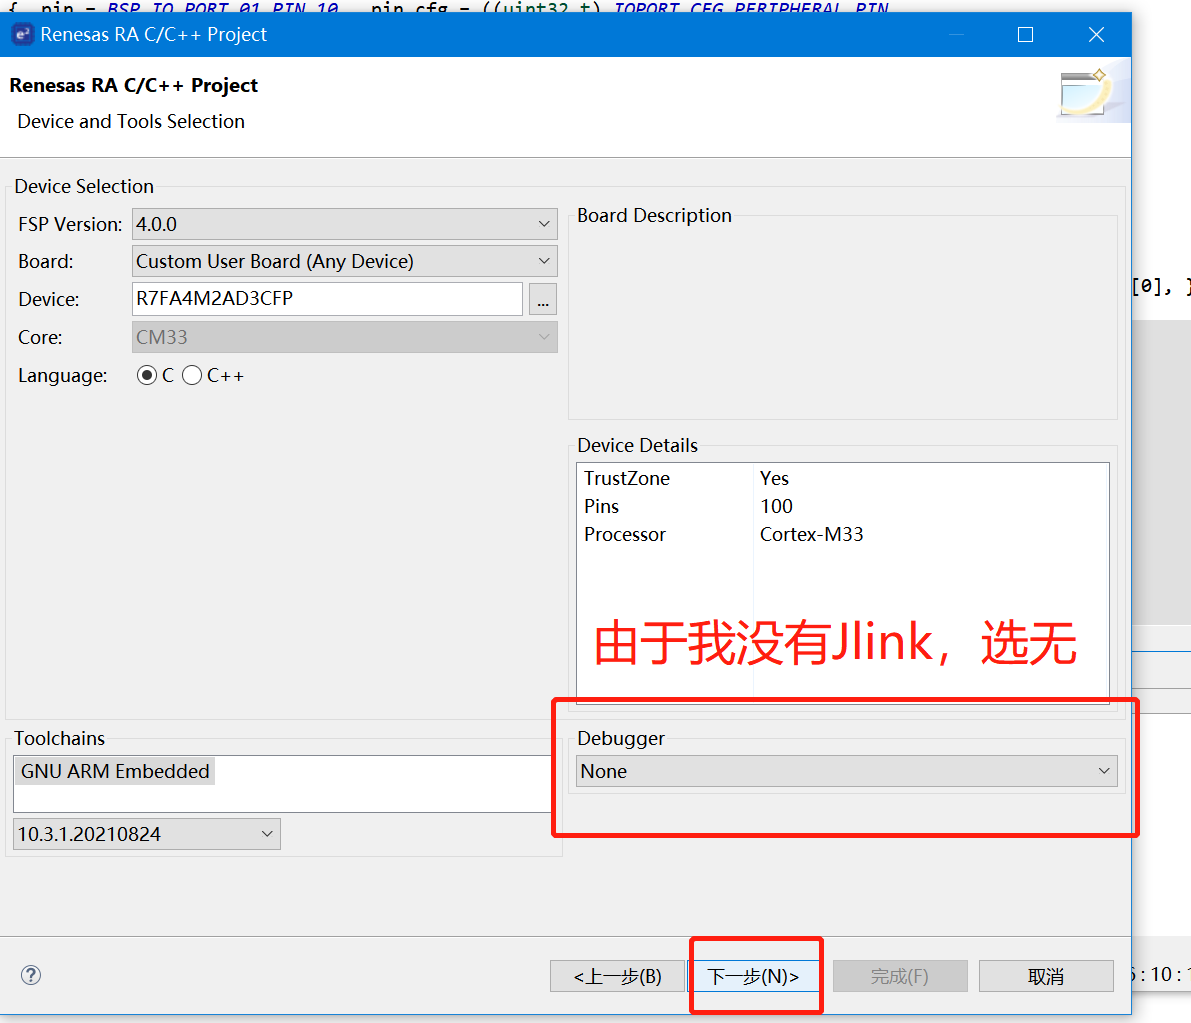
3、新建LED工程:

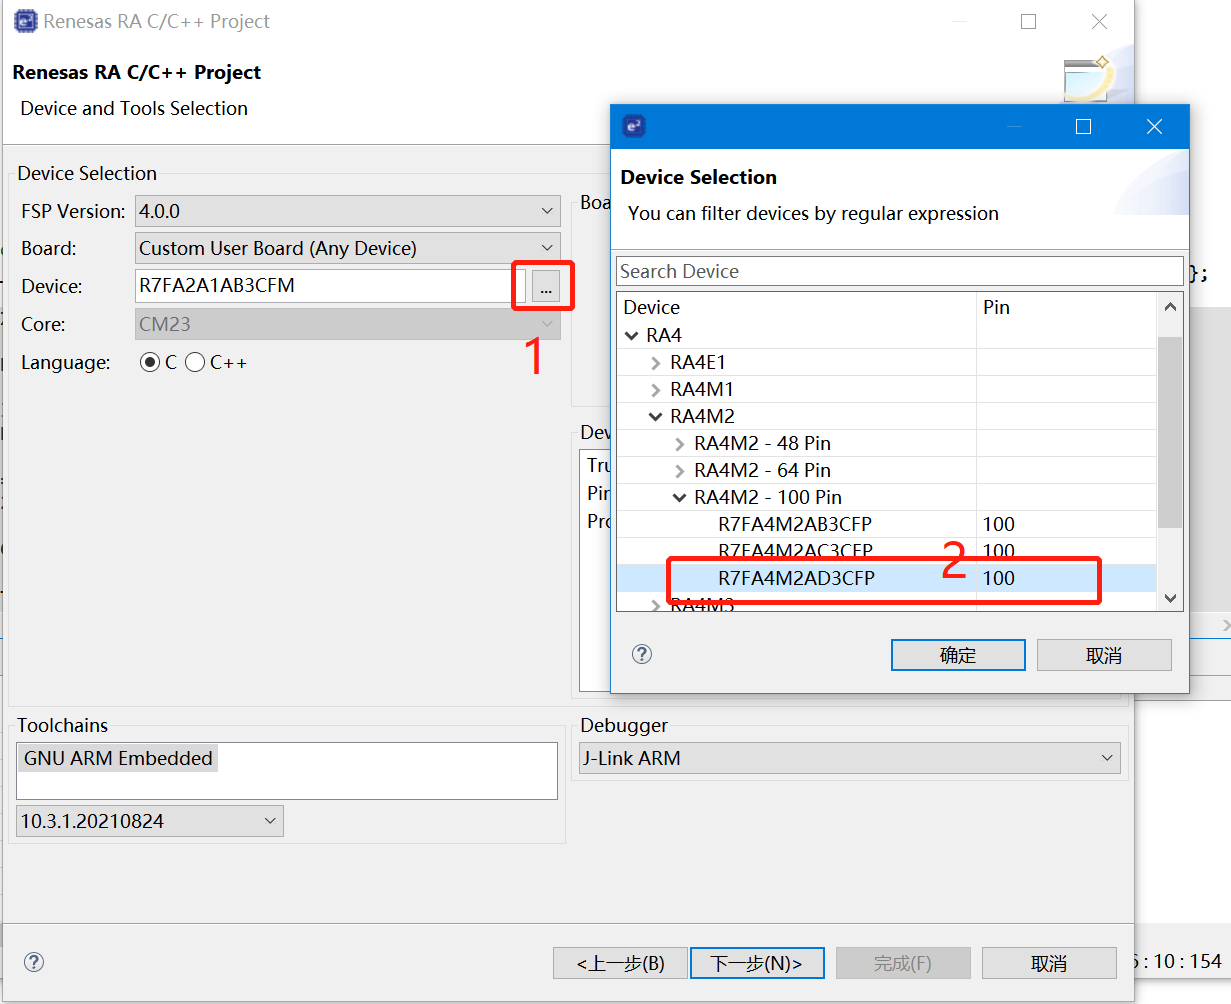
然后一路默认的下一步
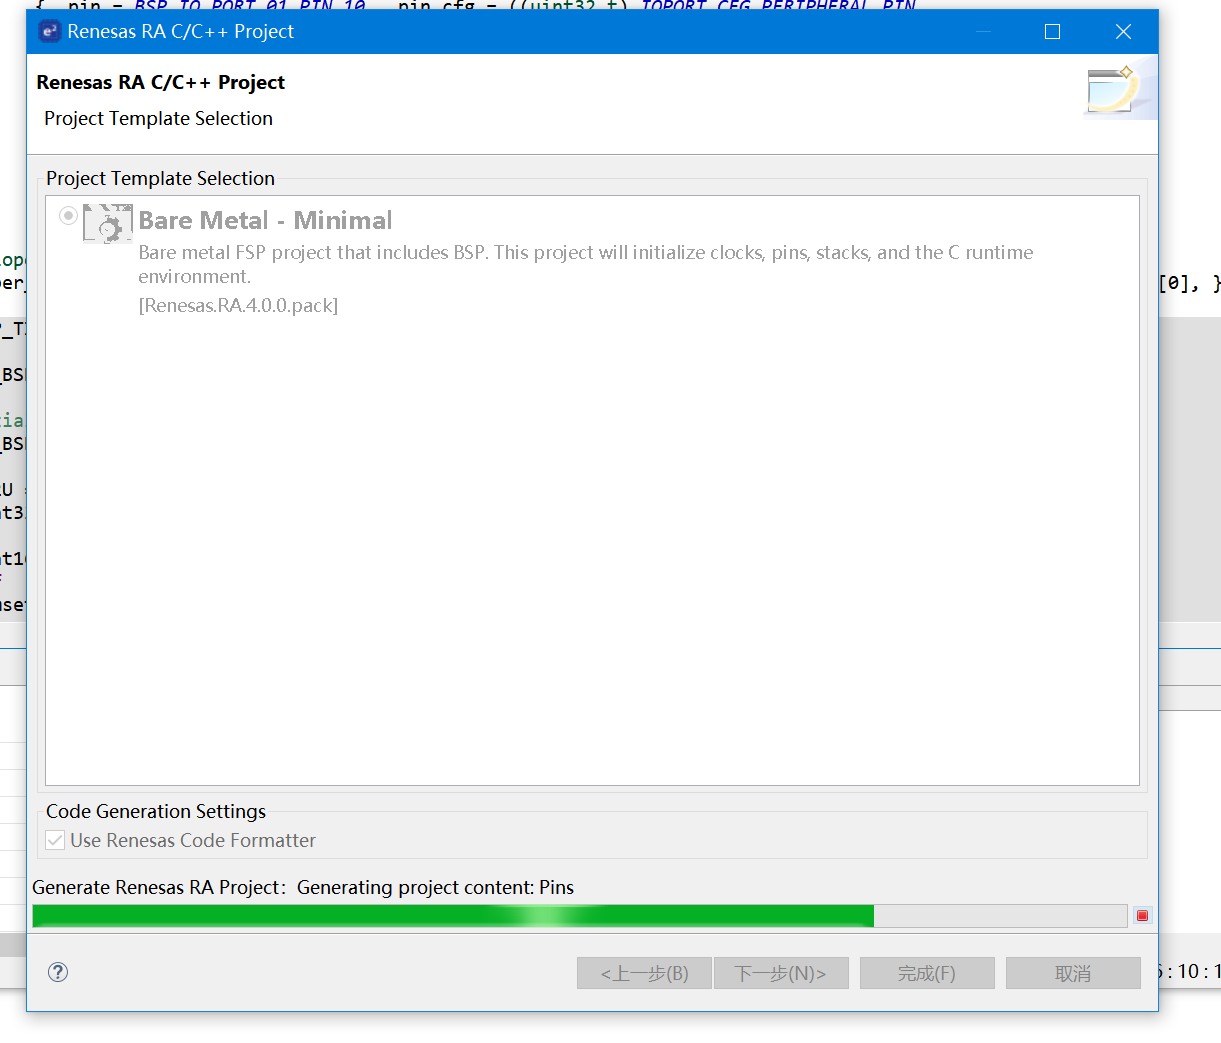
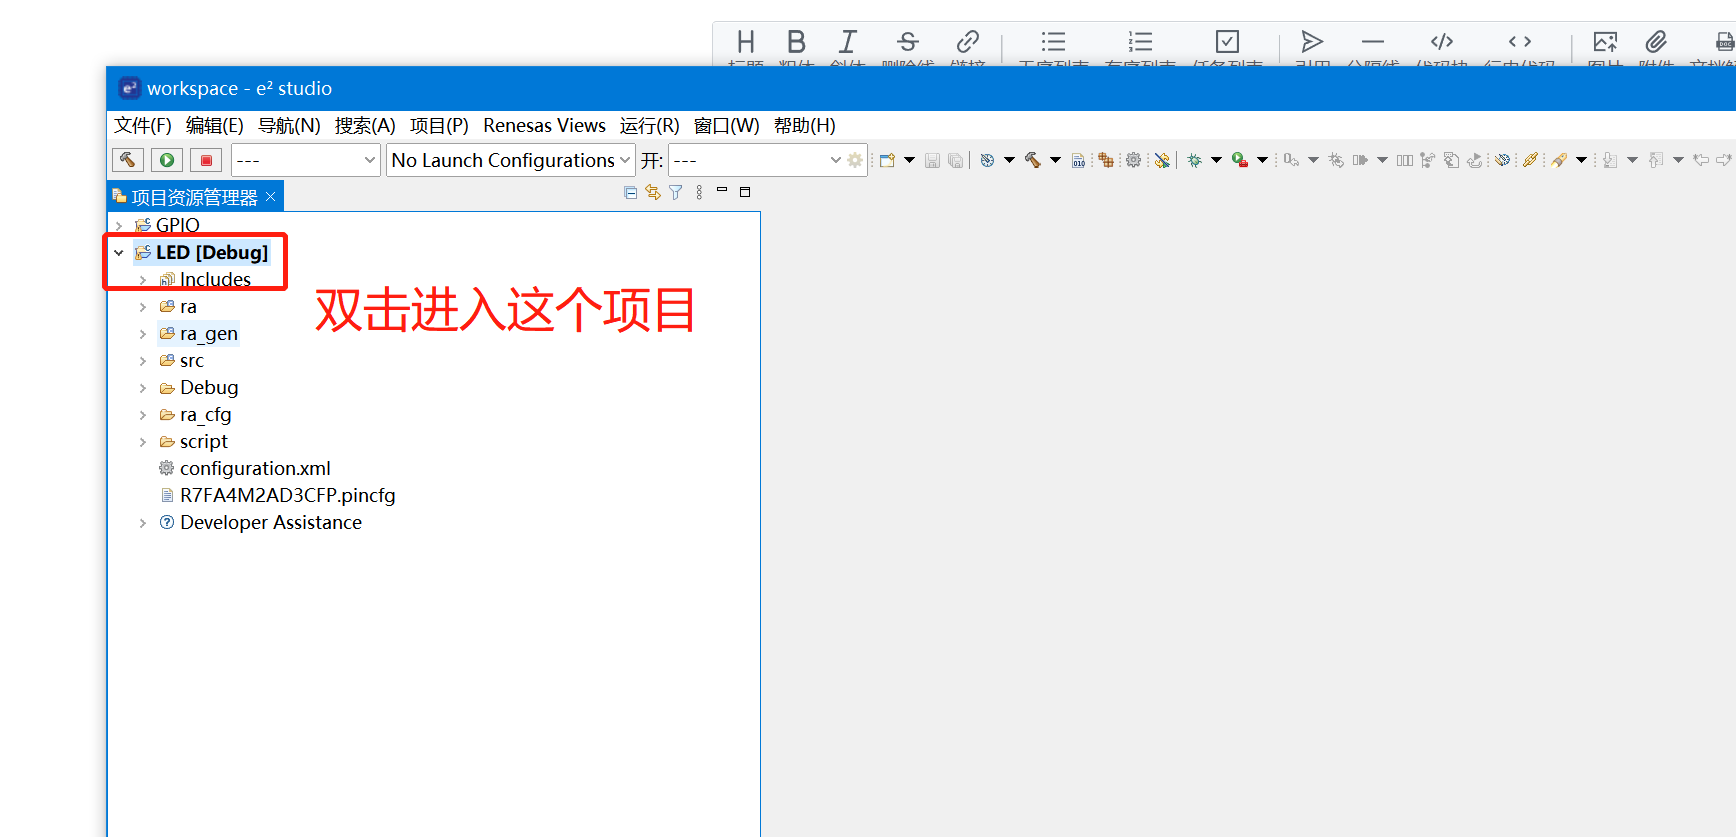
到这里就生成了项目基本框架。
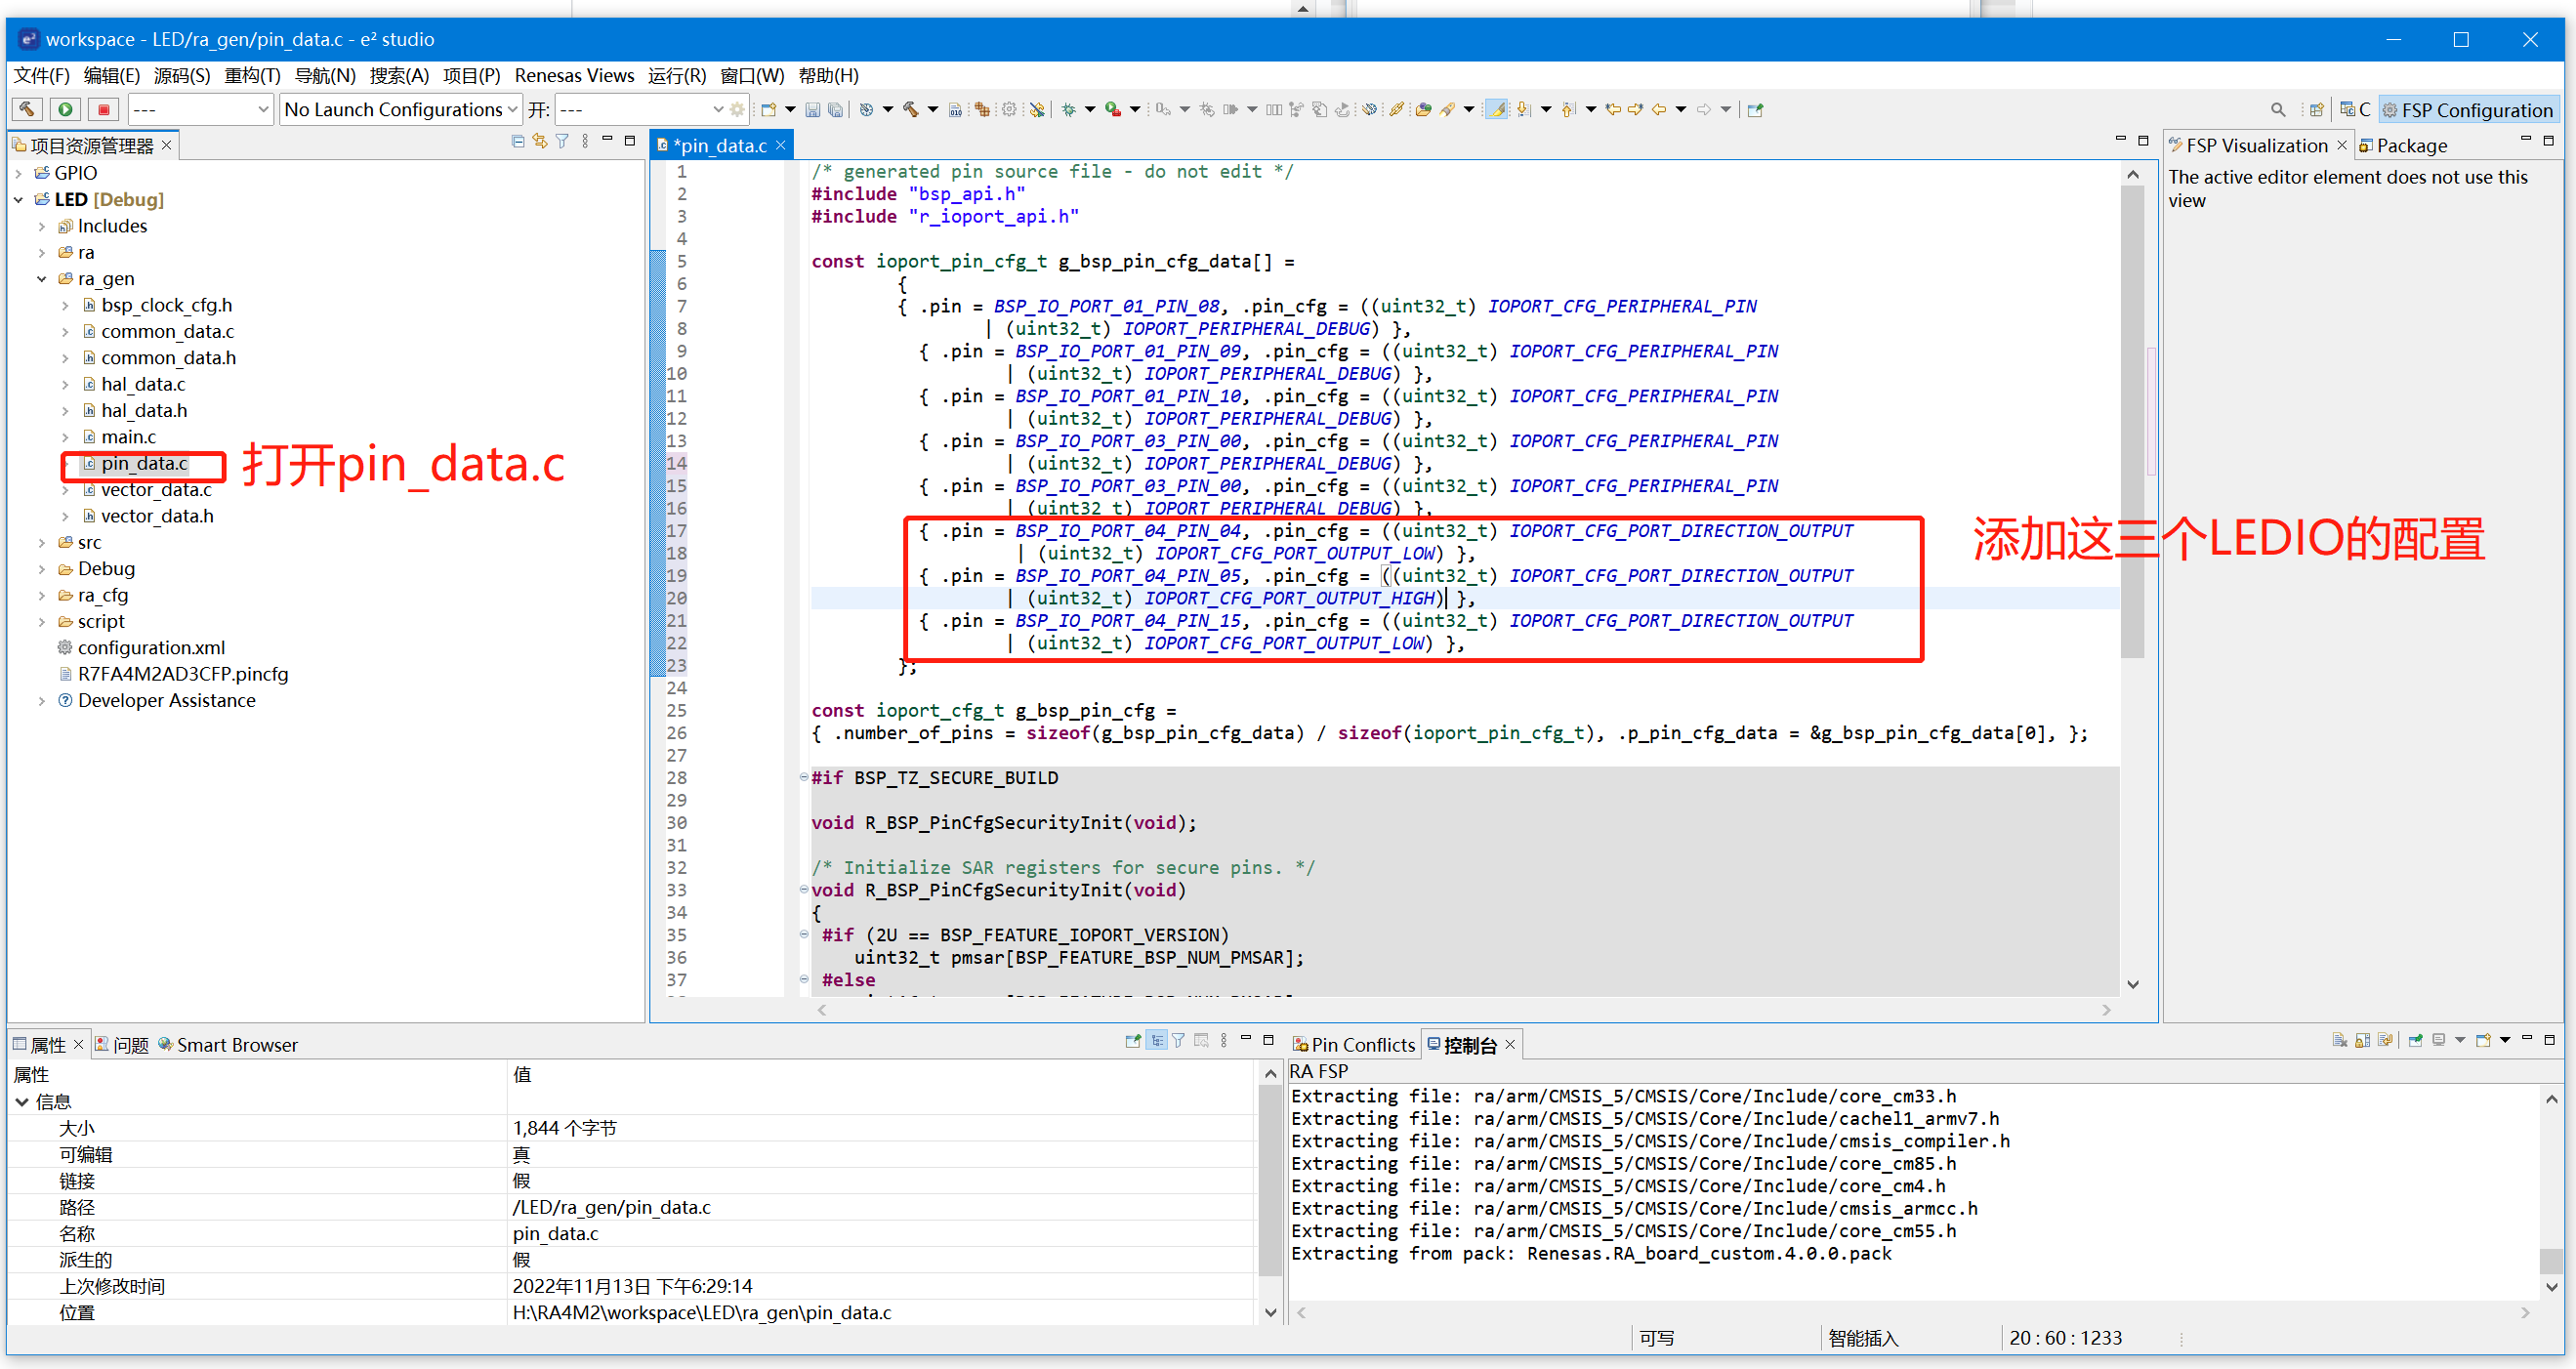
4、配置pin,打开pin_data.c,添加:
{ .pin = BSP_IO_PORT_04_PIN_04, .pin_cfg = ((uint32_t) IOPORT_CFG_PORT_DIRECTION_OUTPUT
                   | (uint32_t) IOPORT_CFG_PORT_OUTPUT_LOW) },{ .pin = BSP_IO_PORT_04_PIN_05, .pin_cfg = ((uint32_t) IOPORT_CFG_PORT_DIRECTION_OUTPUT
                  | (uint32_t) IOPORT_CFG_PORT_OUTPUT_HIGH) }, { .pin = BSP_IO_PORT_04_PIN_15, .pin_cfg = ((uint32_t) IOPORT_CFG_PORT_DIRECTION_OUTPUT
                  | (uint32_t) IOPORT_CFG_PORT_OUTPUT_LOW) },
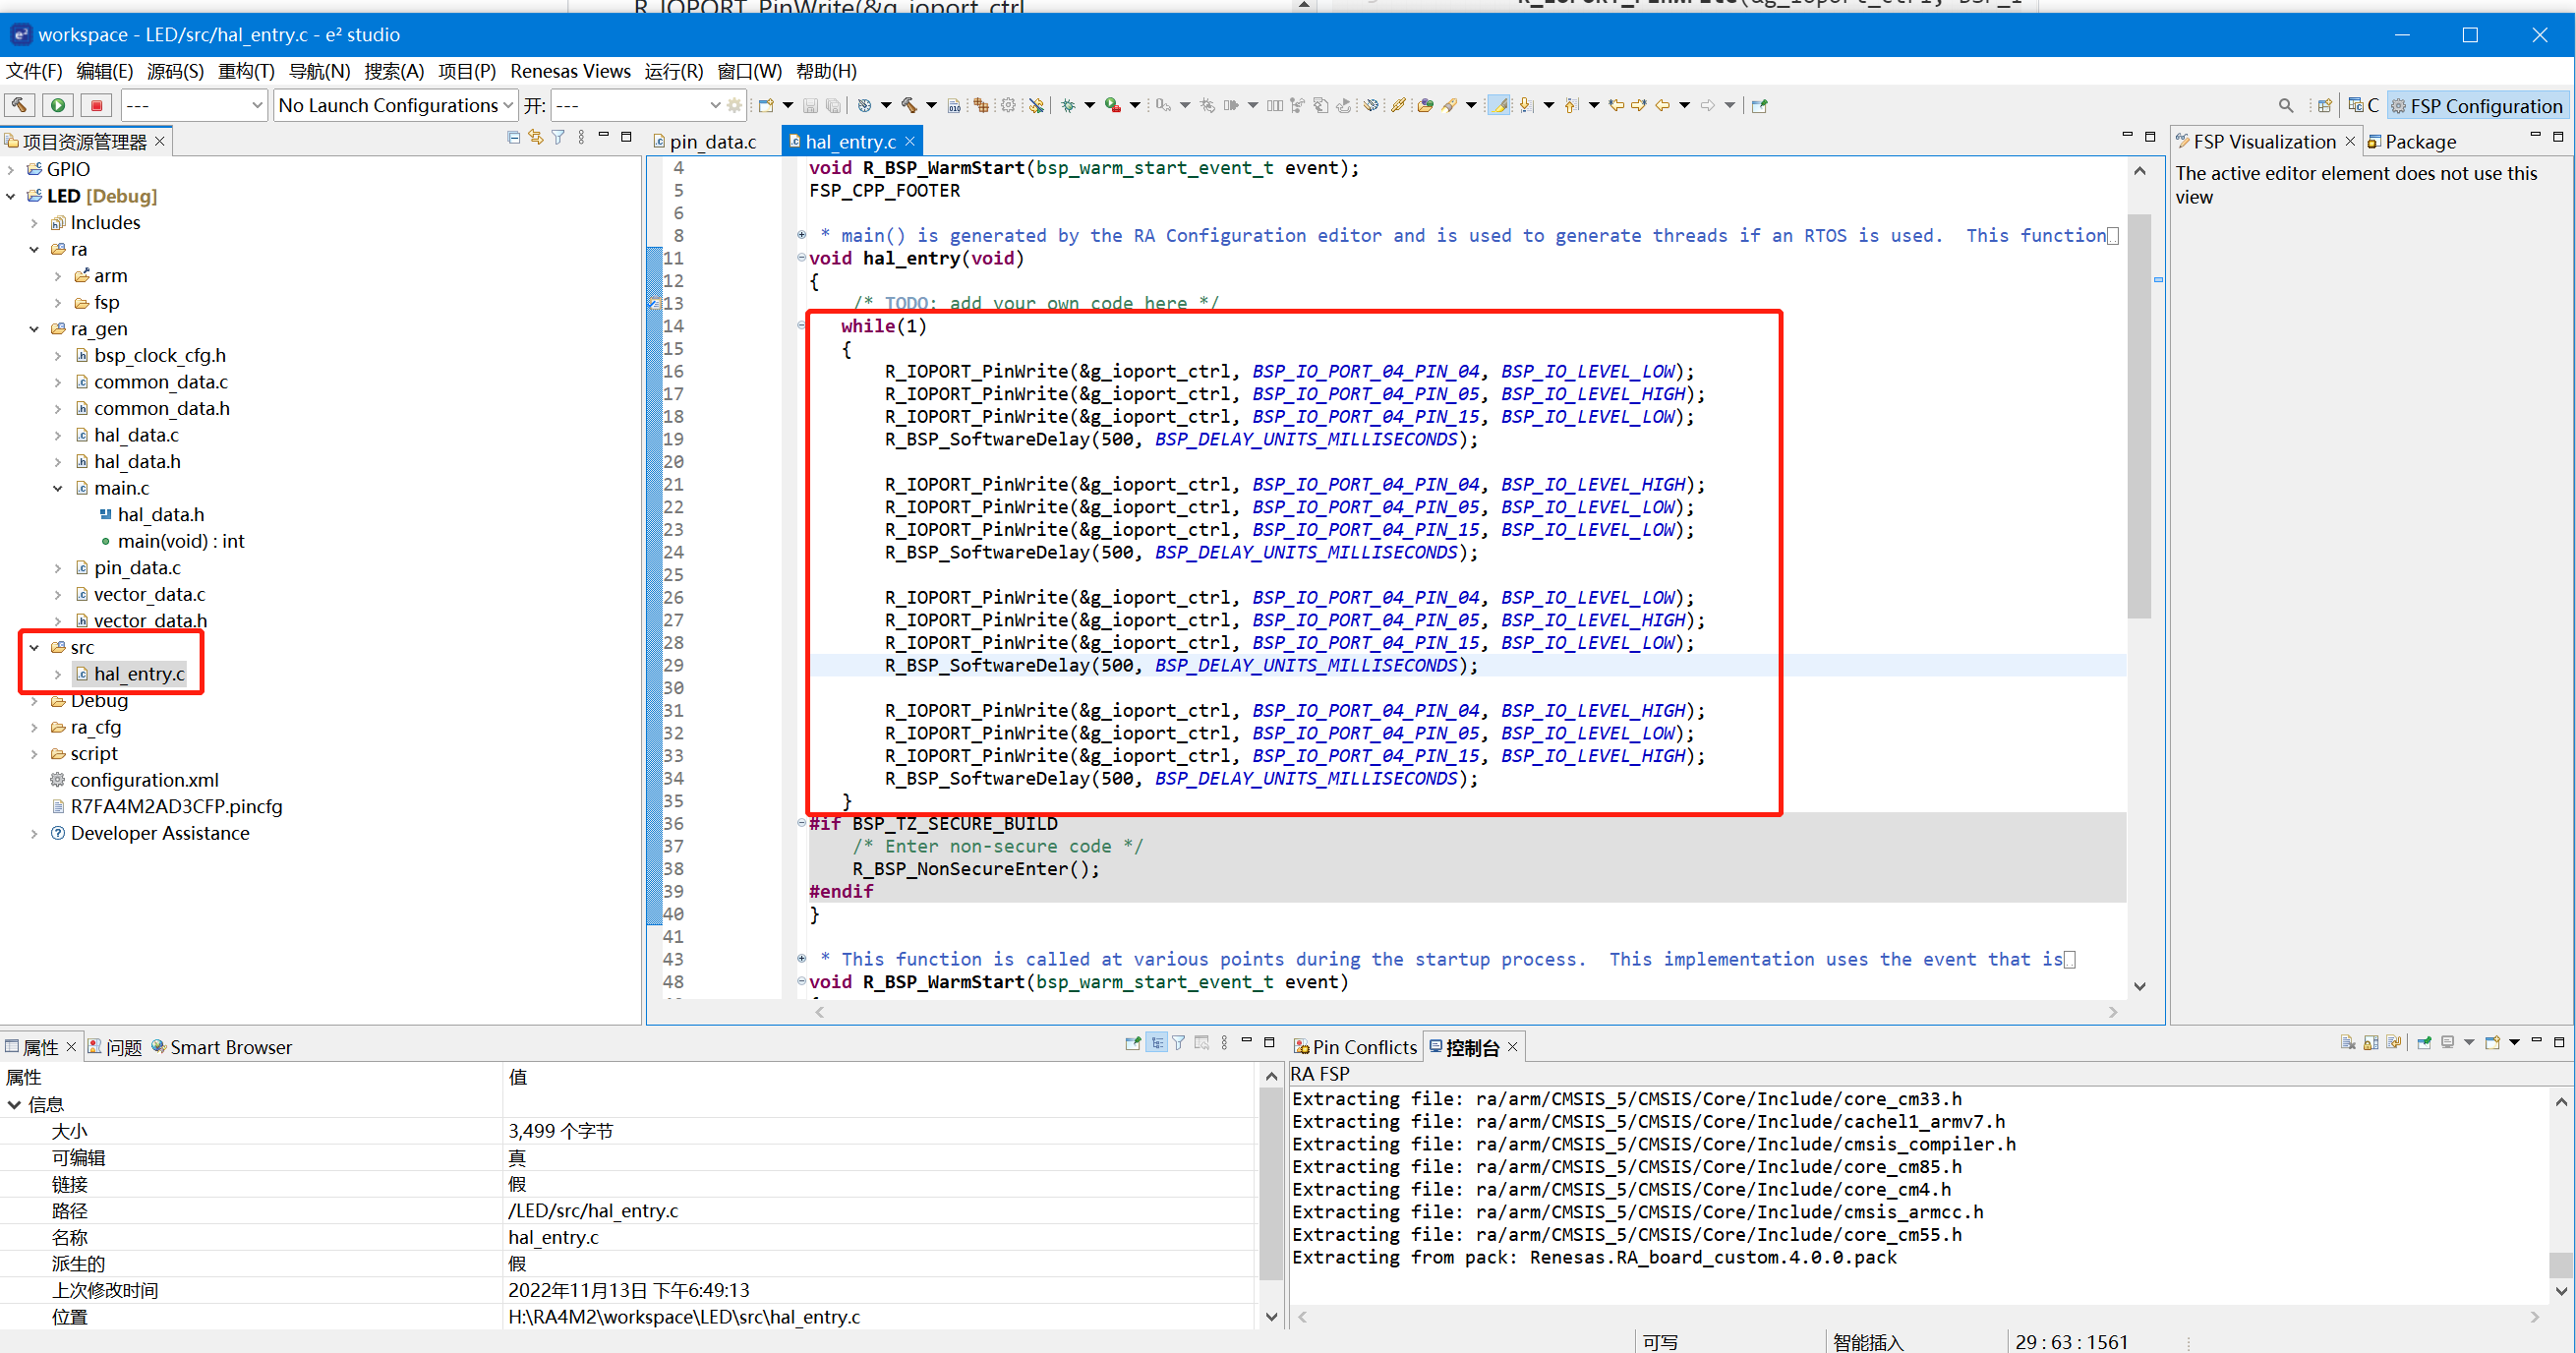
5、在hal_enty.c中添加LED驱动代码:
while(1)
    {
       R_IOPORT_PinWrite(&g_ioport_ctrl, BSP_IO_PORT_04_PIN_04, BSP_IO_LEVEL_HIGH);
       R_IOPORT_PinWrite(&g_ioport_ctrl, BSP_IO_PORT_04_PIN_05, BSP_IO_LEVEL_LOW);
       R_IOPORT_PinWrite(&g_ioport_ctrl, BSP_IO_PORT_04_PIN_15, BSP_IO_LEVEL_LOW);
       R_BSP_SoftwareDelay(500, BSP_DELAY_UNITS_MILLISECONDS);

       R_IOPORT_PinWrite(&g_ioport_ctrl, BSP_IO_PORT_04_PIN_04, BSP_IO_LEVEL_HIGH);
       R_IOPORT_PinWrite(&g_ioport_ctrl, BSP_IO_PORT_04_PIN_05, BSP_IO_LEVEL_HIGH);
       R_IOPORT_PinWrite(&g_ioport_ctrl, BSP_IO_PORT_04_PIN_15, BSP_IO_LEVEL_HIGH);
       R_BSP_SoftwareDelay(500, BSP_DELAY_UNITS_MILLISECONDS);

       R_IOPORT_PinWrite(&g_ioport_ctrl, BSP_IO_PORT_04_PIN_04, BSP_IO_LEVEL_LOW);
       R_IOPORT_PinWrite(&g_ioport_ctrl, BSP_IO_PORT_04_PIN_05, BSP_IO_LEVEL_LOW);
       R_IOPORT_PinWrite(&g_ioport_ctrl, BSP_IO_PORT_04_PIN_15, BSP_IO_LEVEL_HIGH);
       R_BSP_SoftwareDelay(500, BSP_DELAY_UNITS_MILLISECONDS);
    }
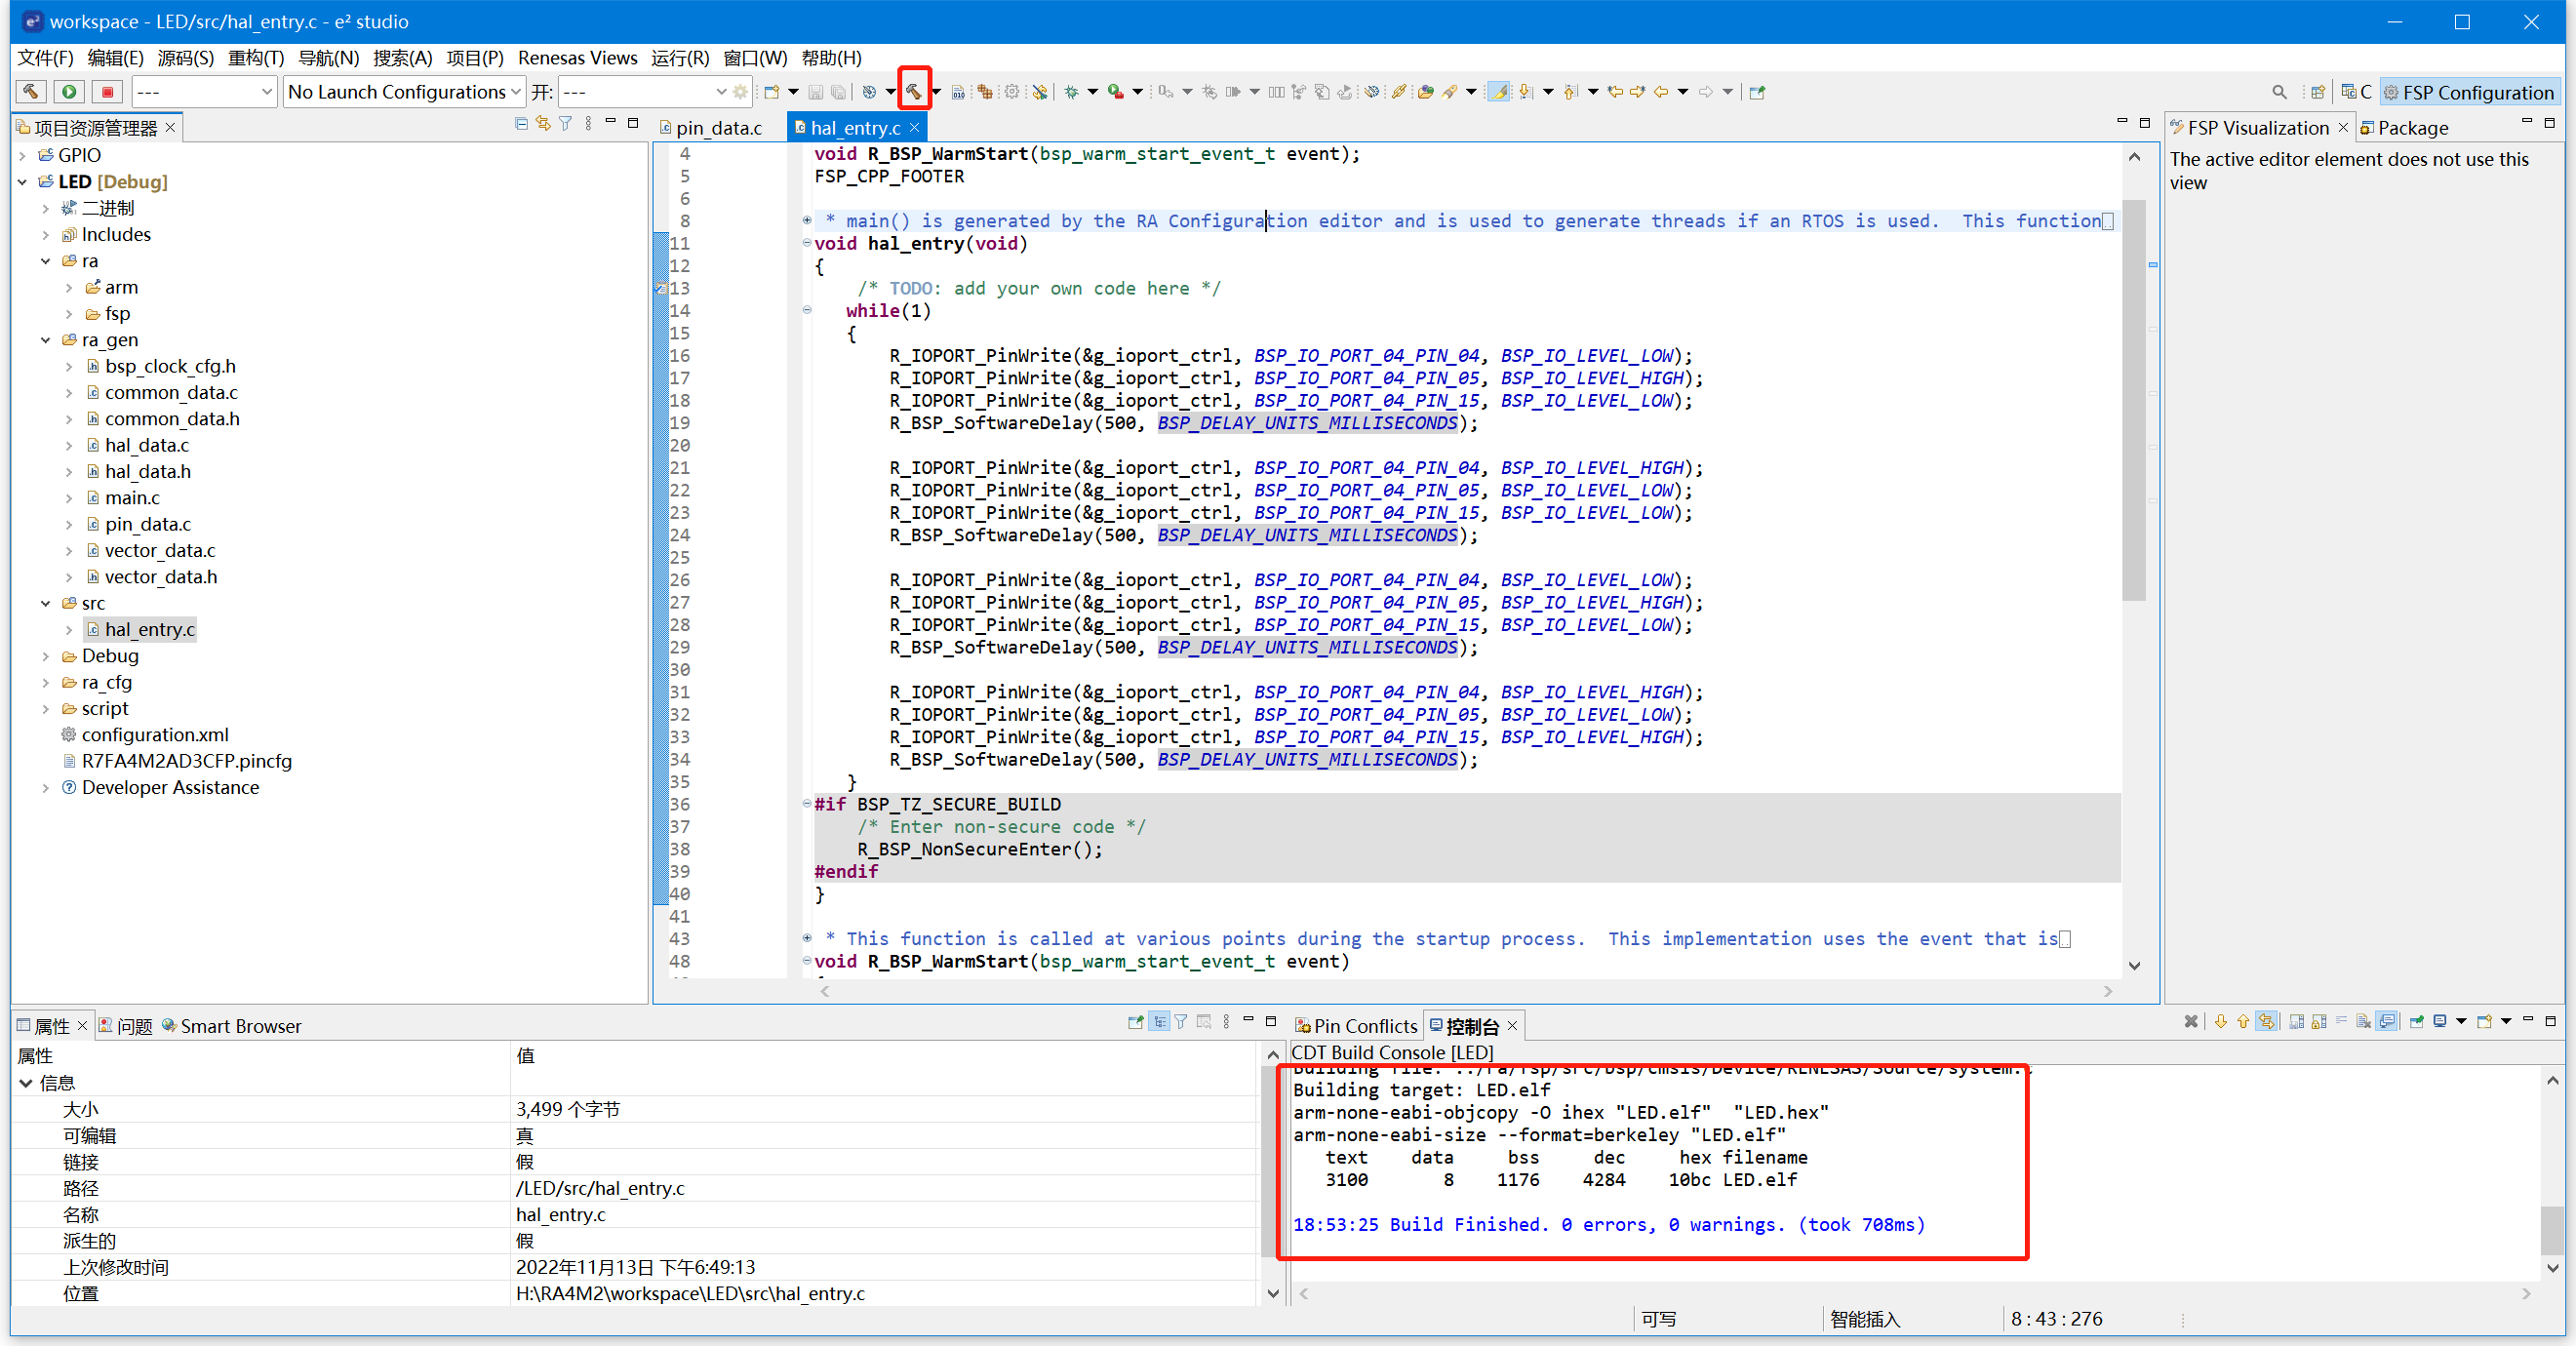
6、由于要使用uart下载hex,所以要设置hex编译输出:
(ctrl+alt+P)快键键:


7、点构建工具,就生成了hex
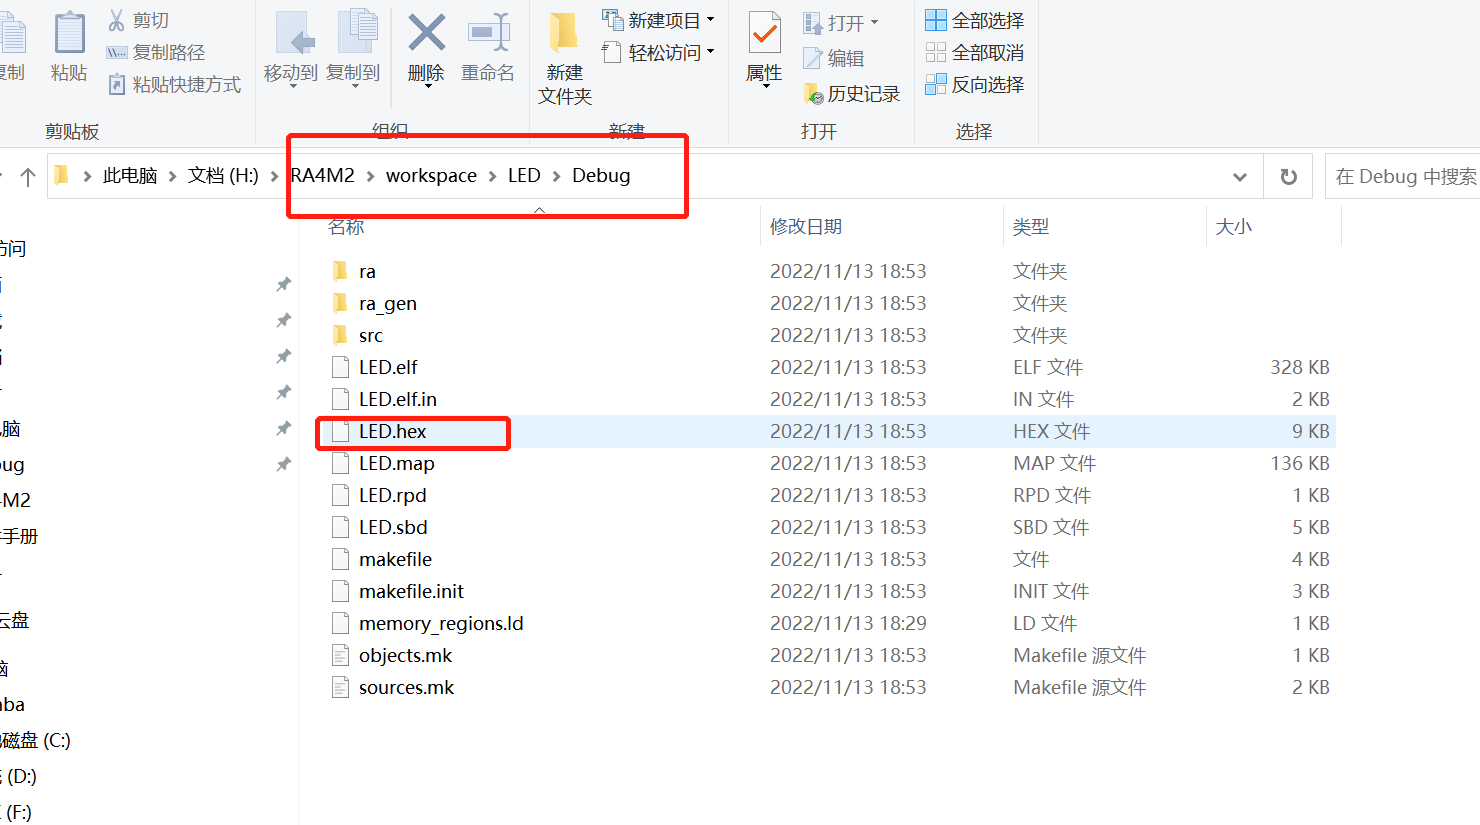
8、生成的工程在workspace\LED\Debug目录下面:
【下载hex到开发板】【注意】下载到开发板花了我不少的时间,就是因为mode跳线没有接对:
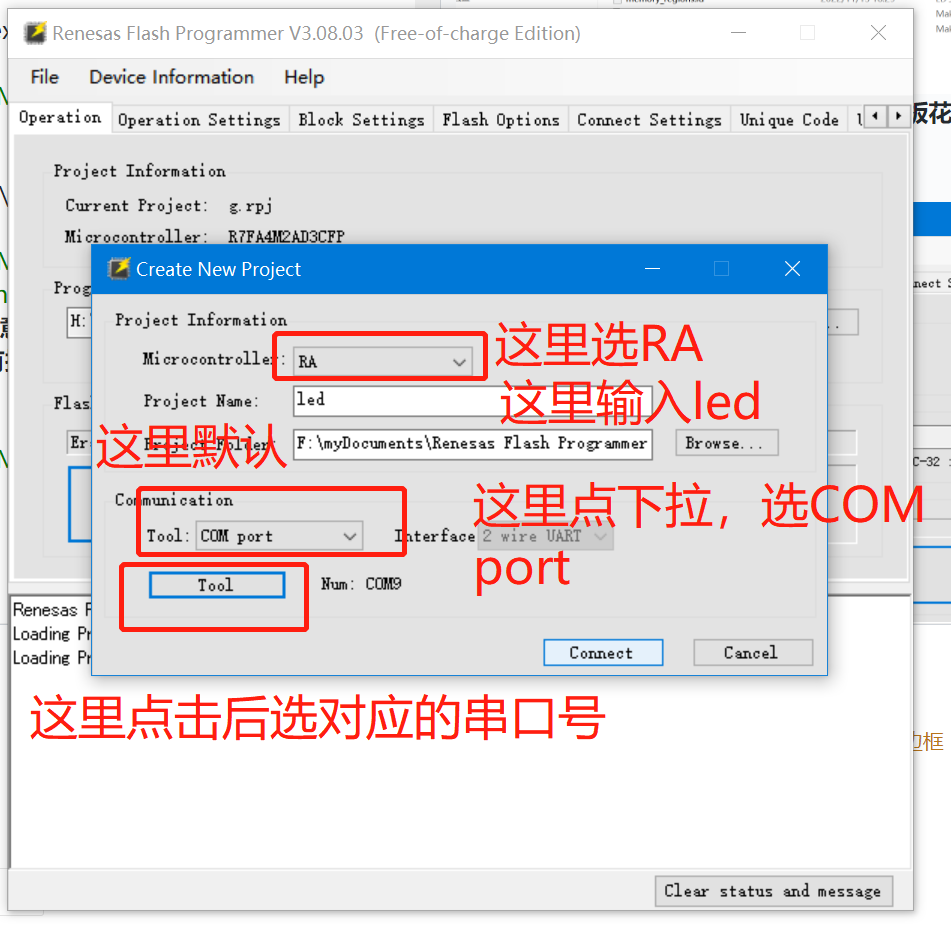
1、打开串口下载工具:

2、把附送的USB线接上,并接入电脑(如果没有安装ch340G驱动的自行安装)
3【mode跳线】
运行模式

下载模式

如果需要下载,一定要跳对线,按reset按键,然后在下载工具上点connect:
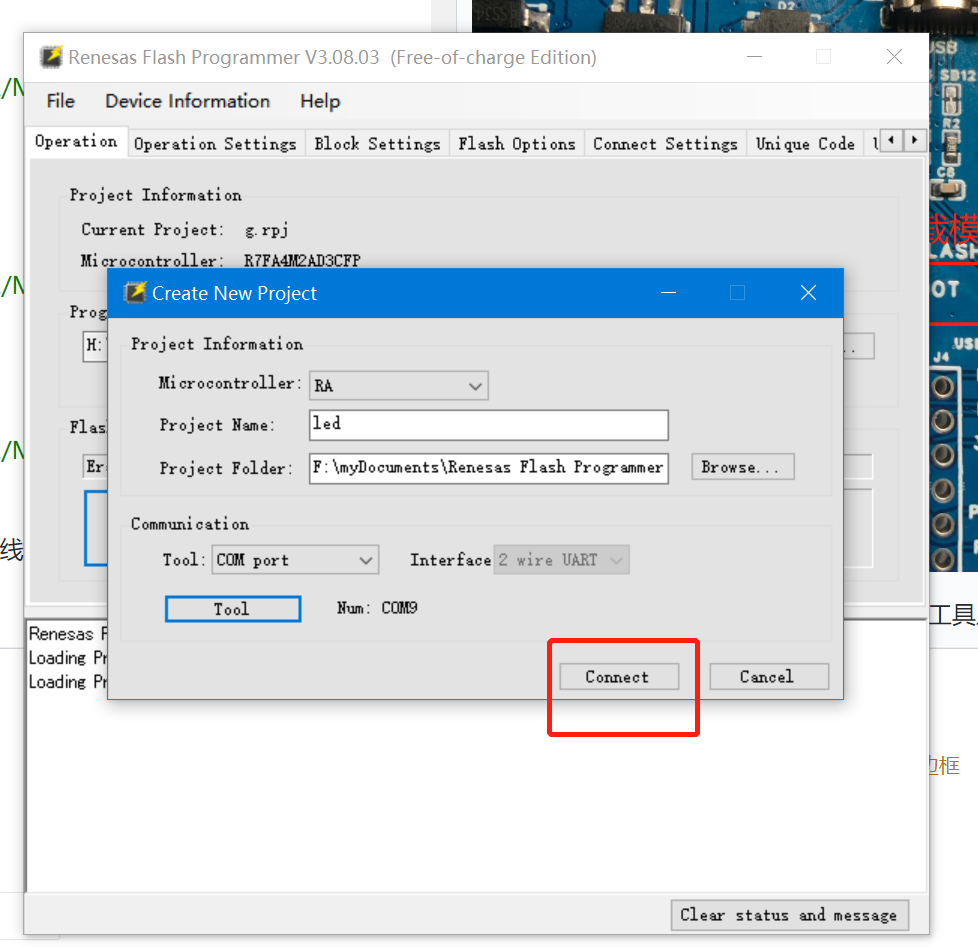
这就是成功进入下载模式:

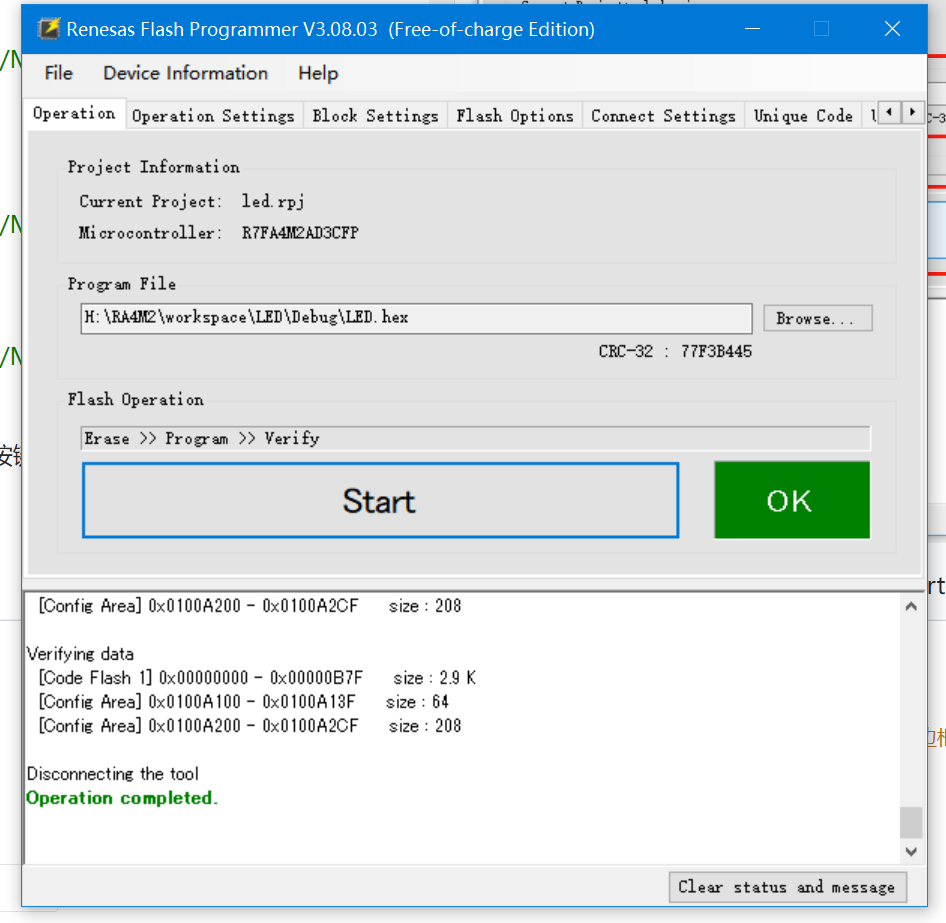
点浏览按键,找到hex文件:


再次按一下开发板的 reset按键,再点击start按键,等待下载完成:
然后把mode跳线跳回运行模式,按复位按键,就可以运行程序了。

 电子发烧友论坛
 /6
/6 


 工商网监
湘ICP备2023018690号
工商网监
湘ICP备2023018690号


 淘帖
淘帖 2008
2008


